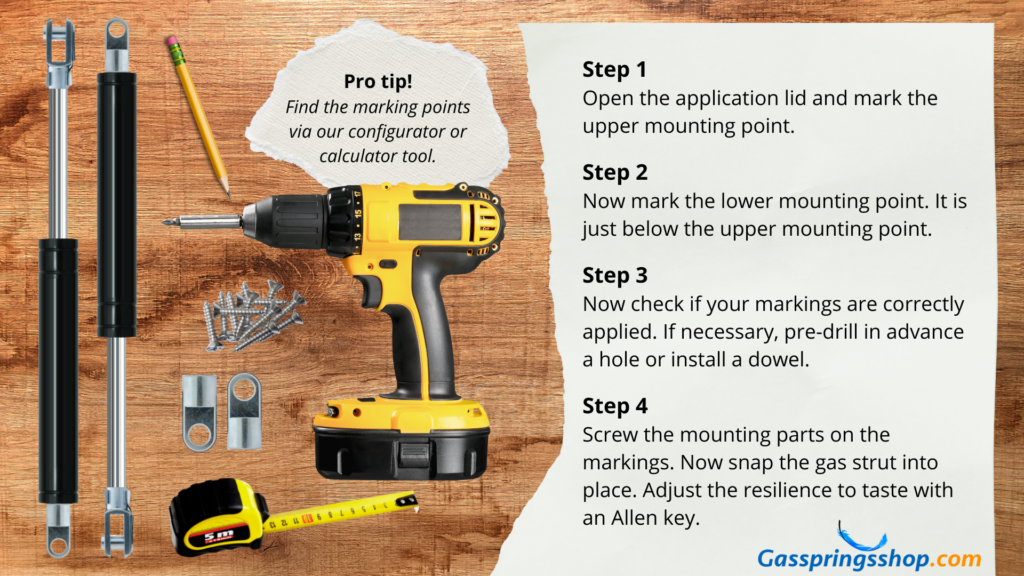
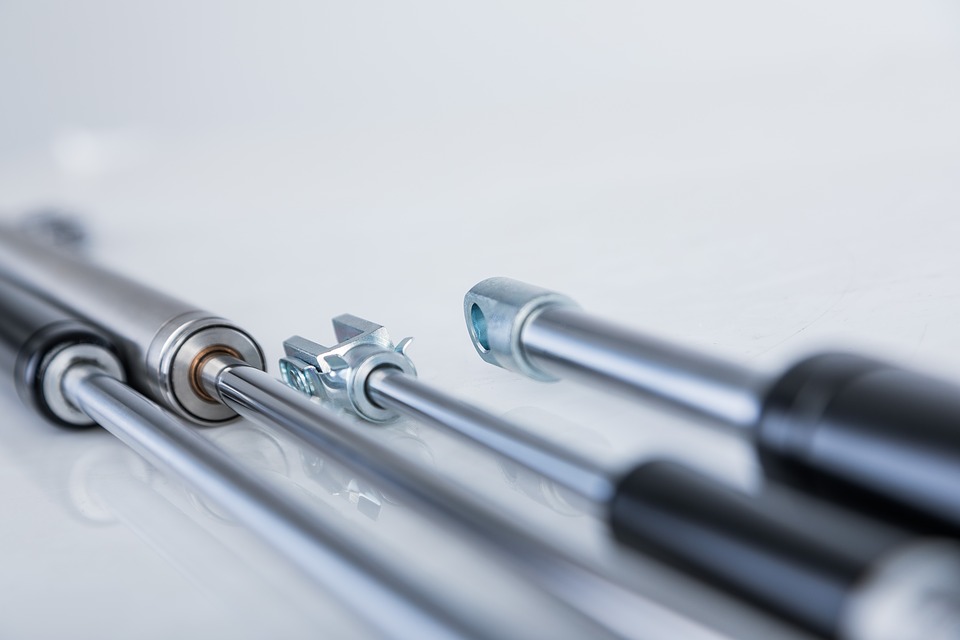
Are you looking for a step by step gas strut installation guide? Great, you just found it! On our website you will find useful information regarding gas struts also known as gas springs. In our webshop we carry a wide range of gas springs. For every application, large or small, we have the solution. Before we start with the gas strut installation guide, it is important to select the correct gas strut for the application.
Selecting the correct gas strut
Before installing the gas spring, it is important to know if the gas spring suits the application. We could tell you a whole lot about this, but we made it easy for you. Using our interactive online configurator tool you can put together your own gas spring. This tool is useful if you already know which gas spring is required for the particular application.

In case you have thought of an application for a gas spring, but have not yet applied the technical information when selecting the right gas spring, our calculator tool is going to save you a headache. You simply enter all the data associated with the application. Followed by the calculation, possible adjustments, ordering & assembly. Are you not sure on how to use our online tools? We have a very handy video for you in which we explain how to use our tools.
Gas strut installation guide
Now that we are sure you have selected the right gas spring, we can start with the installation. Since each application requires a slightly different fixing position, the following instructions will be described as generally as possible.
Please remember one thing. It is very important to install gas struts with the piston rod pointing down to ensure that the piston seal is kept lubricated.
Step 1
Open the moving part to where you want it to be supported. Mark the upper mounting point where the mounting bracket will be attached. While determining the correct position, you’ll want to keep a close eye on the length of the gas spring and angle.
Step 2
The lower mounting point is often just below the upper mounting point. Please note that the gas strut does not need to be perfectly in line. Before marking the lower mounting point, make sure there is enough room for a mounting bracket or ball stud.
Step 3
Now that the attachment points have been determined and checked, they can be prepared. If necessary, pre-drill the wood or install a dowel. A secure fastening of the mounting brackets is of great importance.
Step 4
Do you feel that the part closes heavily? Then you can adjust the gas spring. This can be done by releasing gas through the gas valve. You can operate it with an Allen key. Turn the valve 1/8 and close it immediately. Never leave the valve open for more than a second. Test the resistance after each adjustment.
Step 5
You have successfully applied the gas spring!
Tips to ensure a long product longevity
- Always install and store the gas spring rod down.
- Protect piston against dirt, paint or damage
- Install without twisting
- Do not lubricate the gas strut or cycle more than 15 times per minute
- Employ a locking shroud when gas springs are fitted to support loads where people are in danger should the load fall.
- If possible – use ball joint fixings to help prevent side load forces
- Ensure the end fixings are in line to prevent side load forces.
- Never attempt to re-gas/refill a strut. This is dangerous.
Ready with the gas strut installation guide? Then order at Gasspringshop.com
Are you in need of a gas spring? In our webshop you can order our catalog models or configure a gasspring yourself. Also when looking for a replacement gas spring you can find a perfect match by entering the article number of your current gas spring. We have a large stock and ship all orders within 1 working day. Do you have any questions? Then contact us.


